Hair is one of the most challenging features to draw in the human portrait, especially when working from the imagination. The complexity of hair leads many beginners to just give up and scribble, resulting in the kind of mess that artists sometimes call “spaghetti hair.” Hair doesn’t have to be difficult, though, and in fact can be one of the more enjoyable parts of the portrait to draw. Understanding a few simple tips for drawing hair can make all the difference between a drawing convincing hair and a bird’s nest, regardless of the kind of hairstyle you want to draw.
Read more...When drawing in perspective, it can often be useful to know how certain distances in your drawing relate to distances in reality. The advantage of knowing the scale of a drawing is that it ensures the various parts of the drawing are correctly sized in relation to each other. In a perspective drawing, this is particularly important because of the way that perspective distorts sizes as objects go back in space. This tutorial demonstrates how to draw a subject (in this case, a house) in two-point perspective, and to establish a scale for the drawing.
Read more...Having drawn the rib cage and the muscles of the upper torso in the previous tutorial, this tutorial focuses on the lower torso (or pelvic region) from a three-quarter, eye-level view. At the end of this lesson, we will combine the drawings of the the upper and lower torso to create an image of the entire trunk of the figure from a three-quarter view.
Read more...The three-quarter view of the figure is one of the most important views to learn to draw well. This tutorial focuses on drawing the rib cage and chest, with a basic description of how the figure conforms to the rules of perspective from a three-quarter, eye-level view.
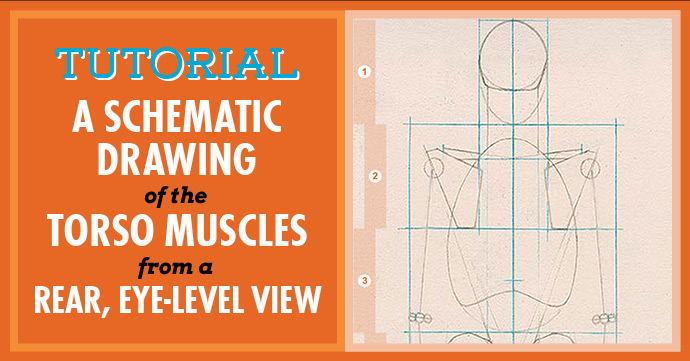
Read more...In this tutorial, we’ll add the schematic shapes of the muscles of the back (including the pelvic region) to our framework of the body from a rear, eye-level view.
Read more...It’s time to introduce a new view of the figure—the rear, eye-level view. This tutorial builds on the lessons in drawing the figure from the front, and should be reasonably easy if you’ve learned that view. We draw the entire schematic framework of the figure here, limbs and all, so be prepared!
Read more...This tutorial adds the schematic shapes of the arm muscles to the standing figure, completing the figure from a front, eye-level view. The tutorial also discusses certain common characteristics of the arms in a relaxed position at the sides of the body.
Read more...Having drawn the schematic shapes of the torso muscles, we need to give our figure something more than just sticks to stand on. This tutorial adds the muscles of the legs in the form of simple schematic shapes. It also features a discussion of certain common characteristics of the legs to help in drawing them from other views.
Read more...When working from the imagination, an artist can draw the human figure as it would appear from countless locations. In order to make sense of these many views, and to identify those that are most useful in drawing the figure, we must first understand how to define a view. In this post, I discuss the three characteristics of any view and how they are defined within the StArt Figure Drawing System.
Read more...This lesson builds on the schematic drawing of the figure created in Tutorials 01-03 by adding the muscles of the torso as they appear from a front, eye-level view. For ease of learning, the muscles are introduced in the form of schematic shapes.
Read more...


