Having drawn the rib cage and the muscles of the upper torso in the previous tutorial, this tutorial focuses on the lower torso (or pelvic region) from a three-quarter, eye-level view. At the end of this lesson, we will combine the drawings of the the upper and lower torso to create an image of the entire trunk of the figure from a three-quarter view.
Read more...Tutorial 09: A Schematic Drawing of the Upper Torso from a 3/4, Eye-Level View
The three-quarter view of the figure is one of the most important views to learn to draw well. This tutorial focuses on drawing the rib cage and chest, with a basic description of how the figure conforms to the rules of perspective from a three-quarter, eye-level view.
Read more...Tutorial 08: A Schematic Drawing of the Torso Muscles from a Rear, Eye-Level View
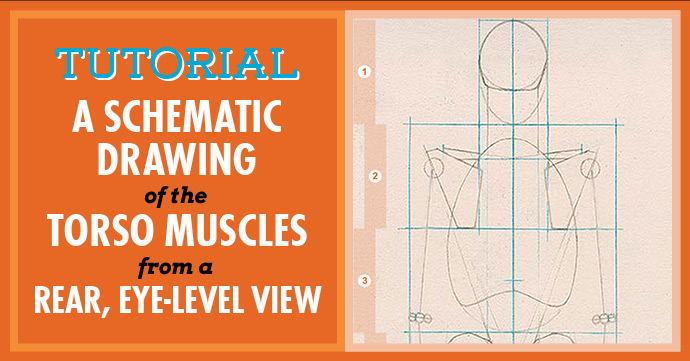
In this tutorial, we’ll add the schematic shapes of the muscles of the back (including the pelvic region) to our framework of the body from a rear, eye-level view.
Read more...Tutorial 07: A Schematic Drawing of the Figure from a Rear, Eye-Level View
It’s time to introduce a new view of the figure—the rear, eye-level view. This tutorial builds on the lessons in drawing the figure from the front, and should be reasonably easy if you’ve learned that view. We draw the entire schematic framework of the figure here, limbs and all, so be prepared!
Read more...Tutorial 06: Adding the Arms to the Schematic Figure from a Front, Eye-Level View
This tutorial adds the schematic shapes of the arm muscles to the standing figure, completing the figure from a front, eye-level view. The tutorial also discusses certain common characteristics of the arms in a relaxed position at the sides of the body.
Read more...Tutorial 05: Adding the Legs to the Schematic Figure from a Front, Eye-Level View
Having drawn the schematic shapes of the torso muscles, we need to give our figure something more than just sticks to stand on. This tutorial adds the muscles of the legs in the form of simple schematic shapes. It also features a discussion of certain common characteristics of the legs to help in drawing them from other views.
Read more...The Three Characteristics that Define an Artist’s View of Any Subject
When working from the imagination, an artist can draw the human figure as it would appear from countless locations. In order to make sense of these many views, and to identify those that are most useful in drawing the figure, we must first understand how to define a view. In this post, I discuss the three characteristics of any view and how they are defined within the StArt Figure Drawing System.
Read more...Tutorial 04: A Schematic Drawing of the Torso Muscles from a Front, Eye-Level View
This lesson builds on the schematic drawing of the figure created in Tutorials 01-03 by adding the muscles of the torso as they appear from a front, eye-level view. For ease of learning, the muscles are introduced in the form of schematic shapes.
Read more...If You Learn One Set of Proportions for Drawing the Figure, Make it This One
There are many systems—or canons—of proportions that artists have advocated over the years. The StArt Figure Drawing System uses a slightly idealized but commonly-used canon, which is preferable for at least four reasons. This post describes the StArt canon of proportions and what advantages it offers.
Read more...Tutorial 03: Adding the Limbs to the Schematic Figure from a Front, Eye-Level View
In this lesson, we complete the schematic drawing begun in the second tutorial by adding the limbs to the body. This tutorial demonstrates how to plot the position of the arms and legs from a front, eye-level view and introduces the concept of the appendicular figure.
Read more...


